Setup Differences Between Wired and Wireless VR
Imagine this:
You’ve just unboxed your brand-new VR headset. You’re buzzing with excitement, ready to dive into new worlds — but then comes the setup. Cables, ports, Wi-Fi, calibration… and suddenly, it feels a bit overwhelming.
The setup process for VR headsets can vary significantly depending on whether you go wired or wireless. And knowing what to expect can save you time, frustration, and even a few technical headaches. Whether you’re setting up your first VR system or weighing an upgrade, understanding the pros, cons, and practical differences of each setup is crucial.
This guide will walk you through how wired and wireless VR setups differ, what you’ll need for each, and how to optimise your space for the best possible experience.
Understanding the Basics: What’s the Real Difference?
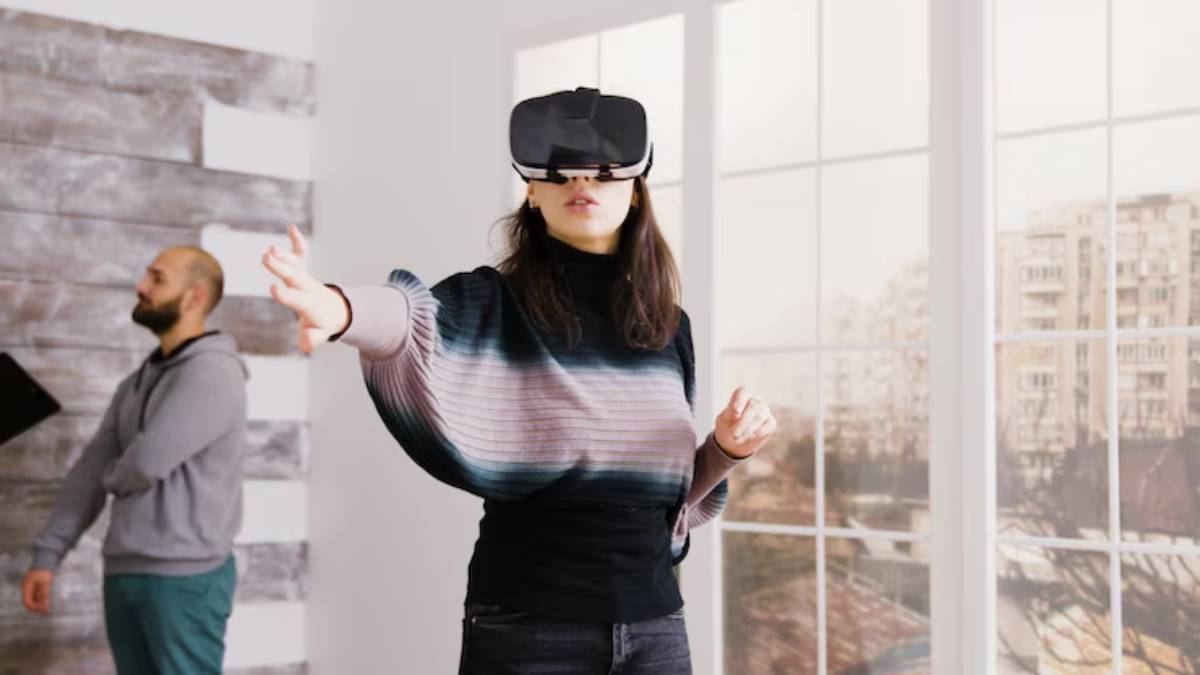
At the heart of it, the primary difference lies in how your VR headset connects to your gaming system or PC:
- Wired VR headsets use a physical cable to link directly to your PC or console.
- Wireless VR headsets connect via Wi-Fi or built-in hardware, offering freedom of movement without trailing cords.
But that’s just the beginning. Let’s explore the setup processes in more detail.
Wired VR Setup: A Step-by-Step Overview
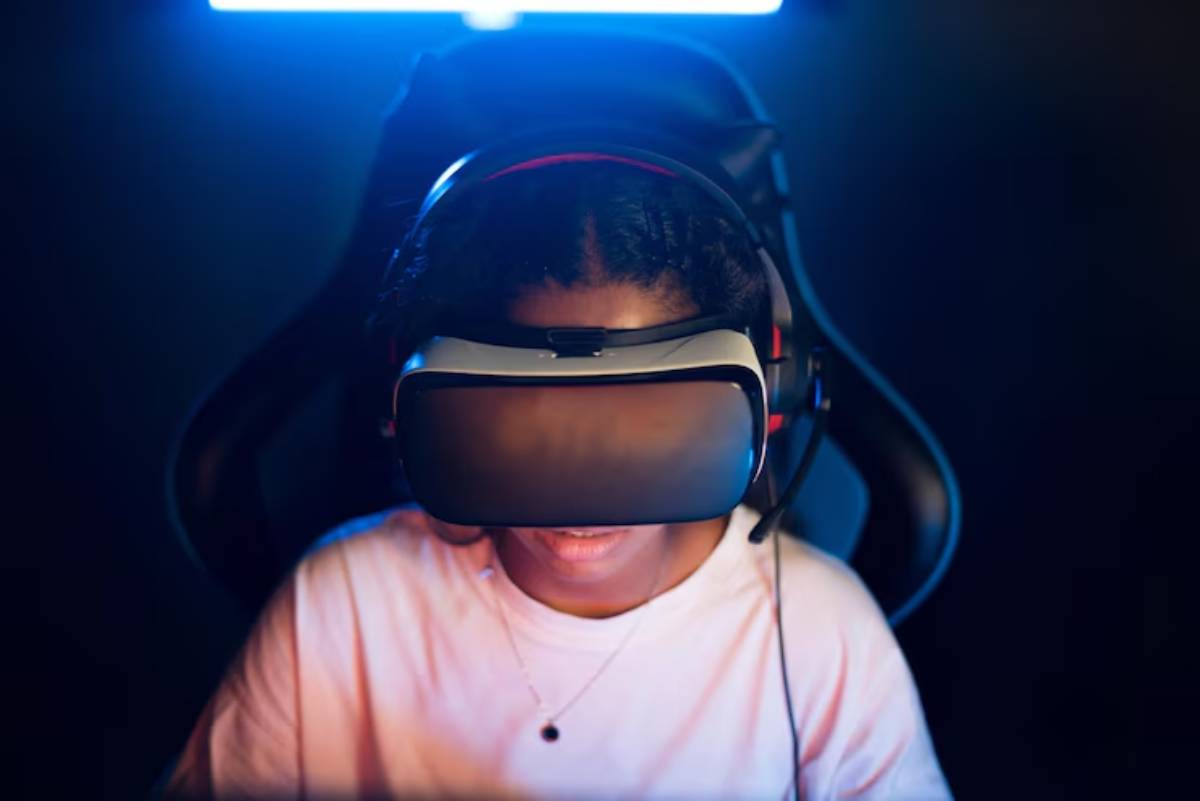
1. Physical Connections and Hardware Requirements
Wired VR headsets typically require:
- A high-performance gaming PC or console
- Available USB-C, DisplayPort, or HDMI ports
- Sufficient cable length and cable management accessories
You’ll need to ensure your PC meets the minimum VR specifications — including GPU, CPU, and RAM. Some examples of popular wired VR headsets include the Valve Index, HTC Vive Pro, and PlayStation VR2.
2. Driver and Software Installation
Most wired headsets require dedicated software such as:
- SteamVR for PC-based VR systems
- Oculus software for Rift and Link setups
- Console system updates for PlayStation VR
After physically connecting your device, you’ll need to install drivers and confirm that the headset is recognised by your system. This process can involve firmware updates, permissions, and calibration.
3. Play Area Configuration
Wired systems often require external sensors or base stations, which need to be positioned strategically:
- Mount base stations at high points facing each other
- Clear at least 2m x 2m of floor space
- Avoid obstructive furniture or reflective surfaces
4. Managing the Cable
One of the biggest challenges with connecting wired VR is managing the tether:
- Use ceiling pulley systems to suspend cables
- Wear cable clips on your back to reduce tension
- Position your PC or console close to your play area
Pro tip: Invest in high-quality cables and check for compatibility. Cheaper alternatives may not support the necessary data rates or cause signal degradation.
Wireless VR Setup: A Step-by-Step Overview
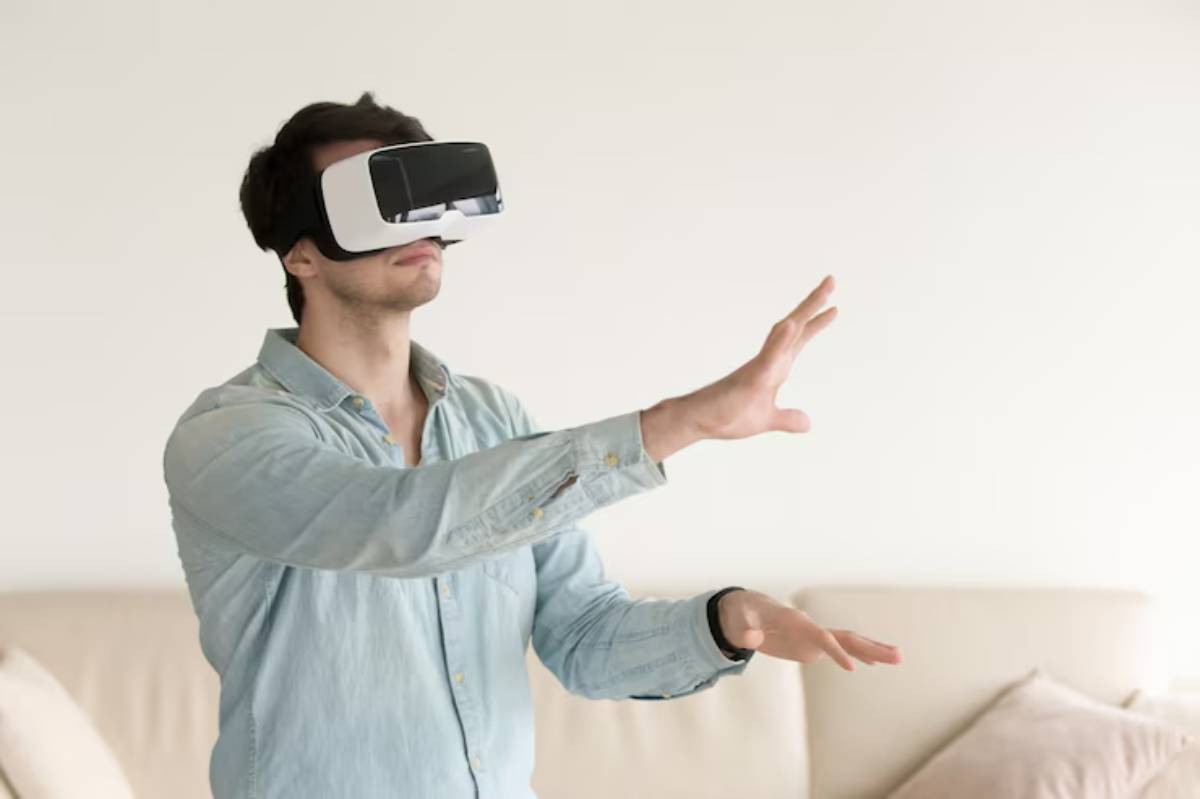
1. Hardware and Connectivity Needs
Wireless headsets like the Meta Quest 2, Quest 3, or Pico 4 operate independently or connect wirelessly to a PC.
Here’s what you’ll need:
- Strong 5GHz Wi-Fi (preferably Wi-Fi 6 or higher)
- A PC that supports Air Link or Virtual Desktop (for PCVR)
- Adequate room lighting and boundary configuration
2. Initial Setup and Account Integration
When you first power on your wireless headset:
- Connect to Wi-Fi
- Pair with your smartphone via the manufacturer’s app
- Sign into your Meta, Steam, or Pico account
- Install system updates and adjust guardian boundaries
3. Streaming from PC (Optional)
Want to stream high-end games wirelessly from your PC?
You’ll need:
- Software like Oculus Air Link or Virtual Desktop
- A strong Wi-Fi signal with low interference
- PCVR-ready hardware
Wireless VR installation works best when the router is in the same room, or you’re using a dedicated Wi-Fi hotspot for the headset.
Wired vs Wireless VR: Key Setup Differences Compared
| Feature | Wired VR Setup | Wireless VR Setup |
| Connection Type | Physical cable (USB, DisplayPort, HDMI) | Wi-Fi 5/6, internal OS |
| Ease of Setup | Moderate to complex | Beginner-friendly |
| Play Area Requirements | Requires base stations or cameras | Built-in tracking and guardian setup |
| Mobility | Limited by cable | Full range of motion |
| Power Source | Constant power from PC/console | Built-in battery (limited duration) |
| Signal Reliability | High with a proper cable | Depends on Wi-Fi quality |
| Cost of Setup | May require additional components | All-in-one with optional add-ons |
What About Hybrid Options?
Some wireless headsets offer wired functionality for added performance. The Meta Quest 2, for example, can connect via the Oculus Link cable, providing PCVR quality with minimal latency.
Benefits of a hybrid setup:
- Extended battery life during wired use
- Higher graphical fidelity from PC
- Backup option if Wi-Fi drops
Practical Considerations for Your Space
Room Layout and Obstruction
- Wired VR: Clear the path of the tether; avoid chairs, rugs, or pets.
- Wireless VR: Ensure strong Wi-Fi coverage; avoid mirrors and windows that may affect tracking.
Noise and Heat Management
- Wired systems often involve a running PC, which can generate heat and fan noise.
- Wireless setups are quieter but can overheat in long sessions — use ventilated head straps or take breaks.
Storage and Portability
- Wireless VR headsets are compact and easy to pack.
- Wired VR headsets often involve multiple components — headset, cables, sensors — making travel more cumbersome.
Real-Life Setup Experiences
“Setting up my Quest 3 was a breeze. Just popped it on, connected to Wi-Fi, and I was in. No cables, no drama.” — Ravi, first-time VR user
“I love my wired Valve Index, but the base station setup took an afternoon. Once done though, the tracking accuracy is unbeatable.” — Lisa, sim racing enthusiast
These stories show the trade-offs clearly: wireless equals convenience, while wired offers precision and power — if you’re ready for a bit more effort.
Troubleshooting Common Setup Issues
For Wired VR:
- Headset not detected? Recheck cables and update USB drivers.
- Poor tracking? Adjust sensor angles and lighting conditions.
- Image flickering? Try different DisplayPort inputs or quality cables.
For Wireless VR:
- Lag during streaming? Upgrade router or use a dedicated hotspot.
- Headset disconnects? Ensure minimal interference from other devices.
- Guardian boundary not saving? Update firmware or re-pair the device.
When to Choose Wired Over Wireless (and Vice Versa)
Go Wired if you:
- Want the highest visual quality and lowest latency
- Have a powerful gaming PC already set up
- Are into simulator games, VR development, or detailed graphics
Go Wireless if you:
- Prefer simplicity and minimal cables
- Want to move freely without setup constraints
- Value portability and ease of use
Looking to compare performance metrics directly? Don’t miss Comparing Latency in Wireless vs Wired VR for deeper insights.
Conclusion: Set Up for Success, Not Stress
Your VR journey starts with your setup — and choosing between wired and wireless can dramatically shape your experience. Wired VR demands more effort up front but rewards you with performance. Wireless VR offers freedom and simplicity but may need compromises on fidelity and battery life.
The key is understanding your priorities. Are you looking for plug-and-play fun or high-end performance? Do you move between spaces or play in a dedicated room? These answers will guide your setup choice.
Ready to jump in? Share your setup stories, tips, or questions in the comments, or tag us with your VR space online. The virtual world is waiting — and now, you know exactly how to step into it.
If you’re still exploring which devices offer the best playroom setup, check out How to Set Up Room-Scale VR Safely for practical safety tips.
